McCall's 7500 is a lovely dress pattern in which you can add as much or as little flouncing as you'd like, and the sleeves and front panel are customizable as well. According to the package, it is "Close-fitting through the bodice dresses have square neckline, bodice, sleeve, and hem variations". It's a runon sentence but you get the idea.
I chose to make a combination of views D and B. I will be using the front panel from D because I like the old-timey country look of pintucks and buttons with lace, and the short puffy sleeves and flounce-free hemline will be taken from view B.
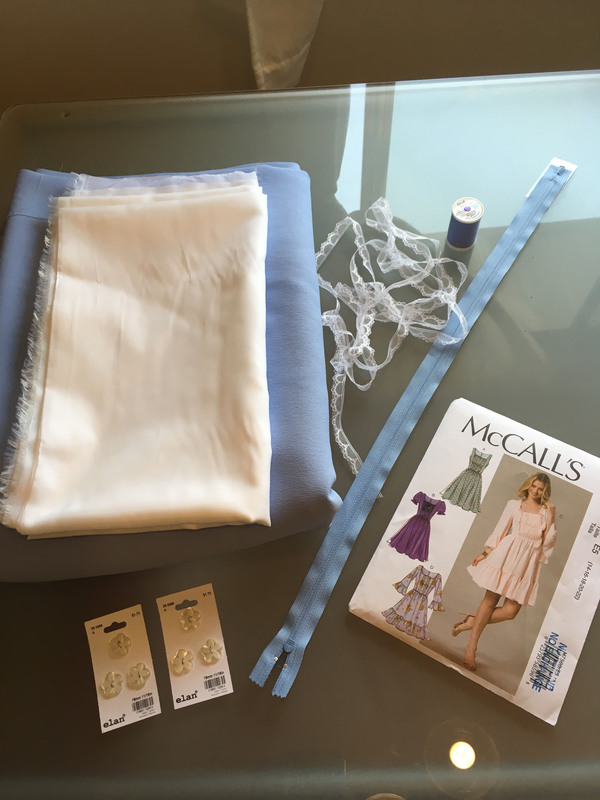
The fabric I chose is wonderful! It isn't the softest in the world, but it's such a pretty colour and texture that I couldn't pass it up (bonus! It was from the bargain bin AND I took the rest of the bolt!). It is called Lila Crêpe and I was able to find it in a beautiful periwinkle blue. At a regular whopping $24 a meter, I found it for 70% off to come out to just $7.20 a meter! That, combined with everything else I need to make the dress (lining, thread, buttons, zipper, pattern, and lace), came out to a grand total of $58.49 before tax! Not bad if I do say so myself.
After I cut everything out, it's time to begin.

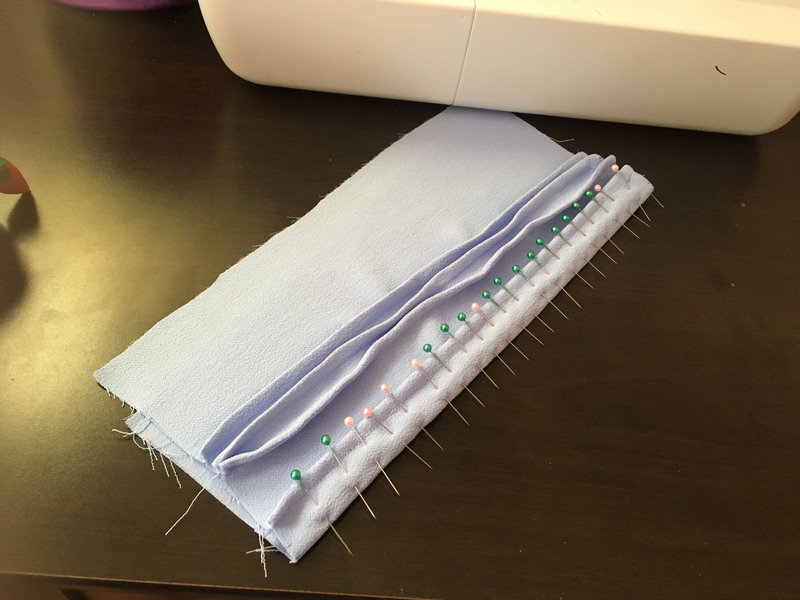
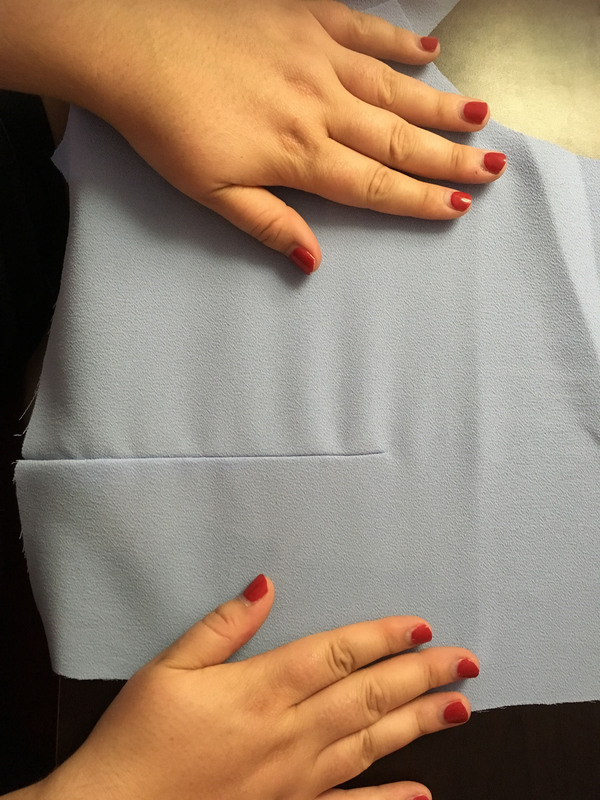
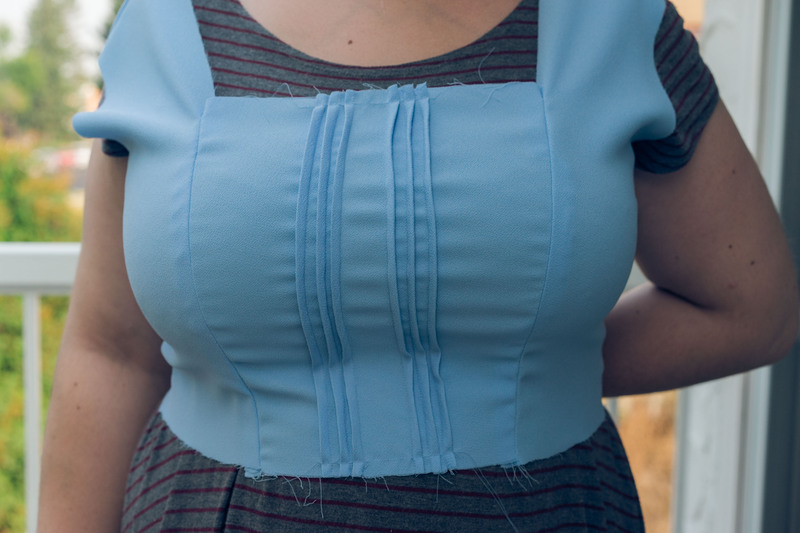
On outside, crease BODICE FRONT (5) along foldlines; press. Stitch along stitching lines, forming tucks.

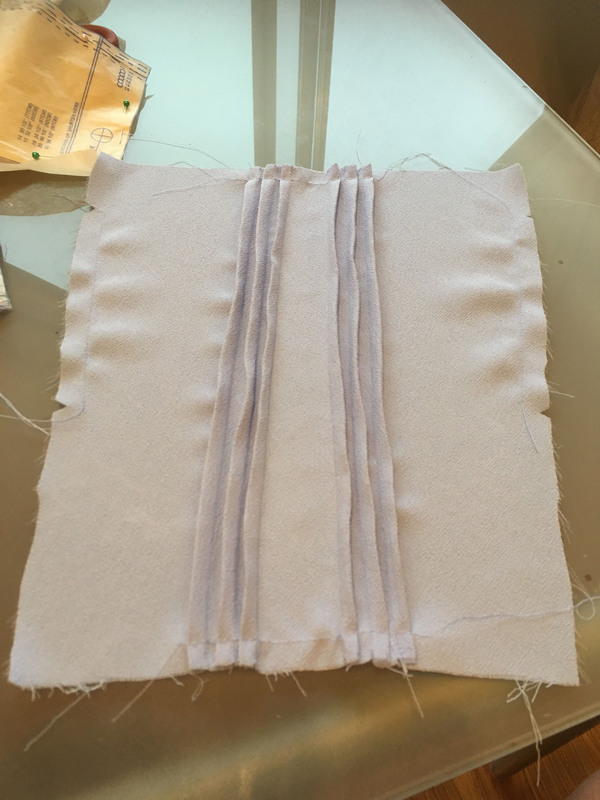
Press tucks toward sides. This was harder than it looked because this fabric refuses to iron and the tucks stood striaght up. Also, the puckering is due to a combination of my machine tension and the fact that it can't be ironed. I don't think it will matter much in the final product.

STAYSTITCH side edges of bodice front between notches.
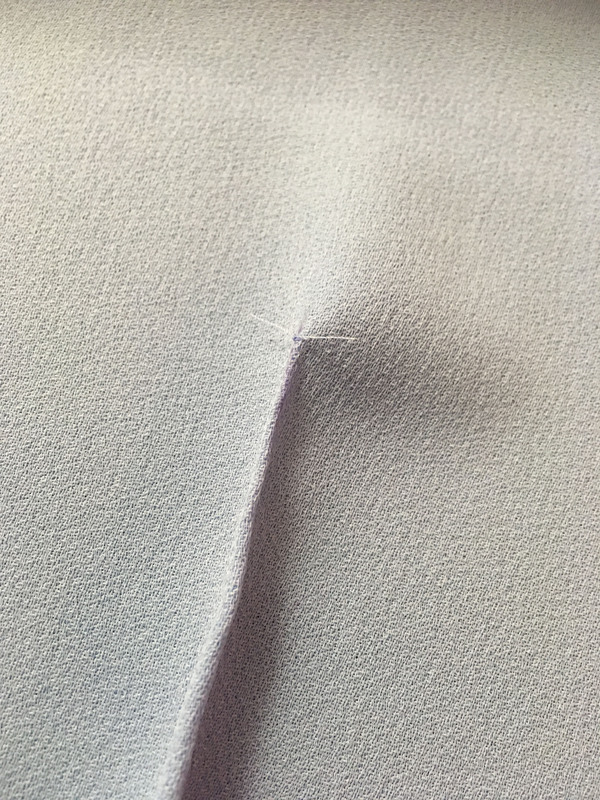
Stitch dart in BODICE BACK (6). Press toward center. The key to a really beautiful dart such as this is to backstitch as you normally would at the bottom of the dart, and continue up the stitching line until you reach the point, at which time you stitch off the edge of the fabric and cut the thread rather than backstitch. Simply tie these extra threads by hand and voila! A perfect dart with no deep groove at the tip. Granted, in this photo I am stretching it, but that's only because it can't be ironed. If it could it would look like this on its own.
Stitch bodice back and BODICE SIDE FRONT (7) together at shoulder. Stitch bodice back and bodice side front together at side.

Pin bodice front to side front sections, matching symbols, clipping bodice front where necessary; baste. Stitch, ending at large circles. Press seams toward side front. I didn't baste first as I didn't see the point. Maybe I'm too inexperienced but I like just stitching unless it's an area that will get a lot of pull.
STAYSTITCH side edges of BODICE FRONT LINING (9) between notches, as shown.
Pin bodice front lining to bodice side front LINING, matching symbols, clipping bodice front lining where necessary; baste. Stitch, ending at large circles. Press seams toward side front lining.
Stitch dart in bodice back LINING. Press toward center.
Stitch bodice back lining sections and bodice side front LINING together at shoulders.
Stitch bodice back lining and bodice side front lining together at sides.
With right sides together, pin lining to bodice. Stitch neck edge, breaking stitching at large circles. Trim. UNDERSTITCH lining as far as possible.
Turn lining to inside; press. Baste raw edges together along center back, lower and armhole edges.
On outisde, pin scallop lace trim to bodice front, placing straight edge slightly over upper edge slightly over upper edge, extending ends 1/4" over side front. Stitch close to edge.
Pin trim to side front and neck edge, placing straight edge along seam, having ends even with raw edges. Stitch close to edge.
GATHER upper edge of SLEEVE (10) between small circles.
Stitch sleeve seam.
Make 5/8" NARROW HEM at lower edge.
To form casing for elastic, on inside, pin bias tape to sleeve, placing one long edge along placement line, turning in 1/2" on ends. Stitch close to both long edges.
Cut two pieces of elsatic, each the measure of the upper arm, plus 1". Insert elastic through opening in casing. Lap ends; hold with safety pin. Try on; adjust if necessary. Stitch ends of elastic securely.
SLIPSTITCH opening.
With right sides together, pin sleeve into armhole, placing large circle at shoulder seam. Adjust gathers; baste. Stitch. Stitch again 1/4" away in seam allowance. Trim close to stitching. Press seam allowances flat. Turn toward bodice.
Stitch SKIRT (13) sections together, leaving one seam open above large circle, forming center back.
GATHER upper edge of skirt between seamlines.
Make 5/8" NARROW HEM at lower edge.
With right sides together, pin skir to bodice, placing one seam at large circles. Adjust gathers; baste. Stitch. Stitch again 1/4" away in seam allowance. Trim close to stitching. Press seam toward bodice.
Turn in upper end of zipper tape; baste.
Baste back opening edges together along seamline above large circles.
Open zipper; place face down on extended seam allowance, placing zipper stop at large circle and zipper teeth on seamline. Baste in center of zipper tape, keeping back free.
Close zipper; turn pull tab up. Spread dress flat. Baste a scant 1/4" from zipper teeth and across lower edge.
On outside, stitch along basting through all thicknesses using a zipper foot. Remove basting.
Sew hook and eye to back opening edges above zipper.
Sew buttons to bodice front at small circles.